


T16D V1.9.6.zip
17.13 MB
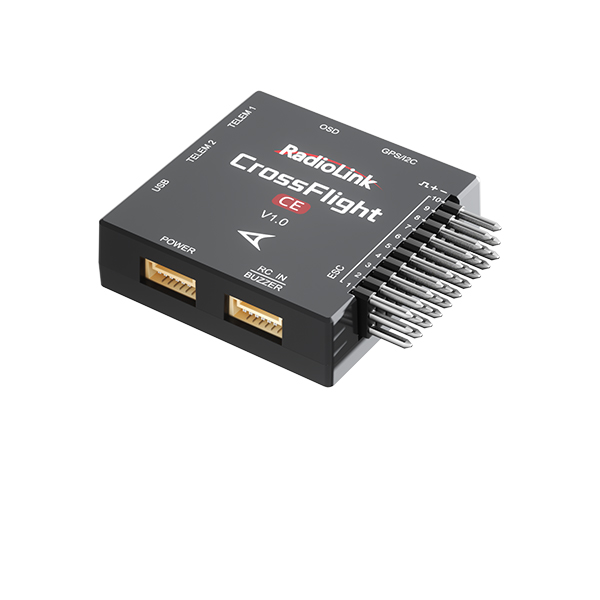
FC for Fixed Wing
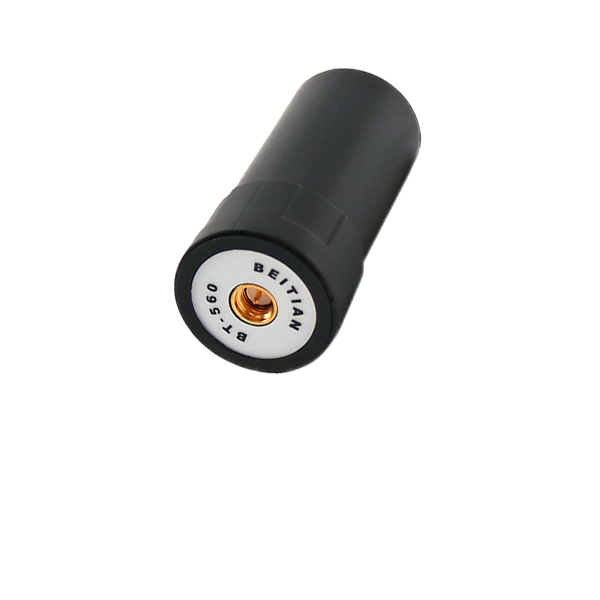
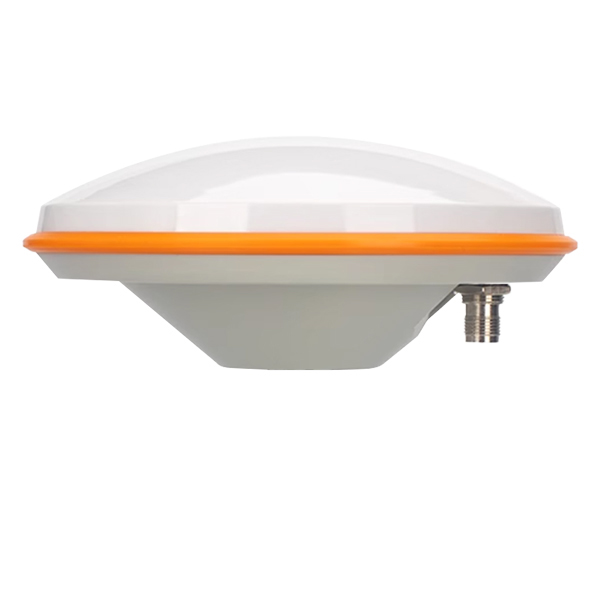
GPS
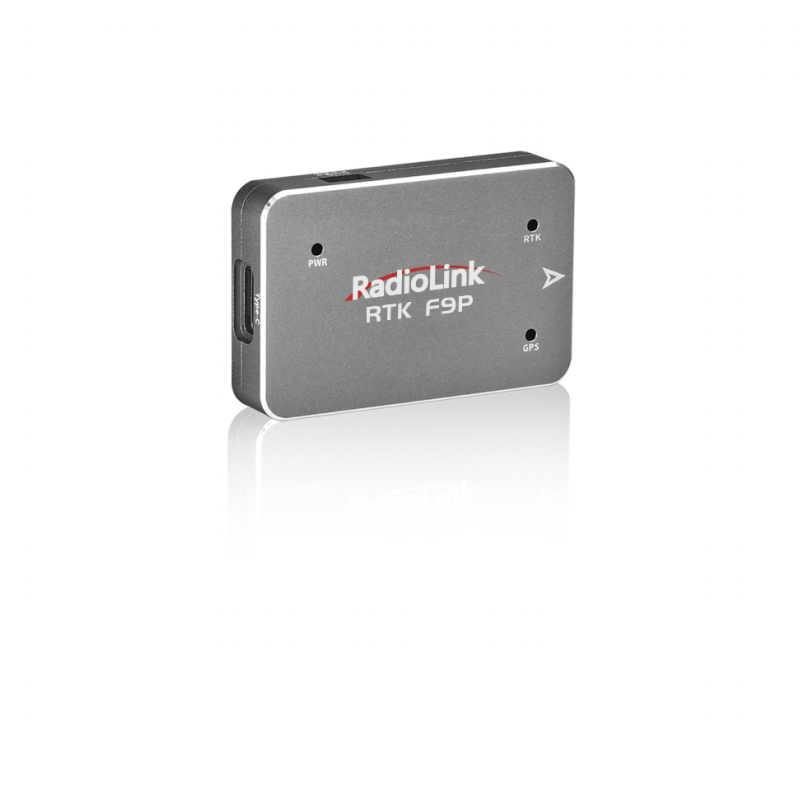
RTK Kit
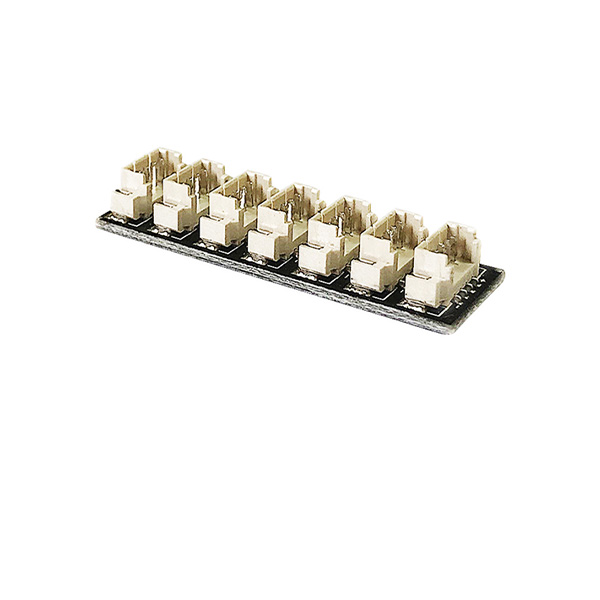
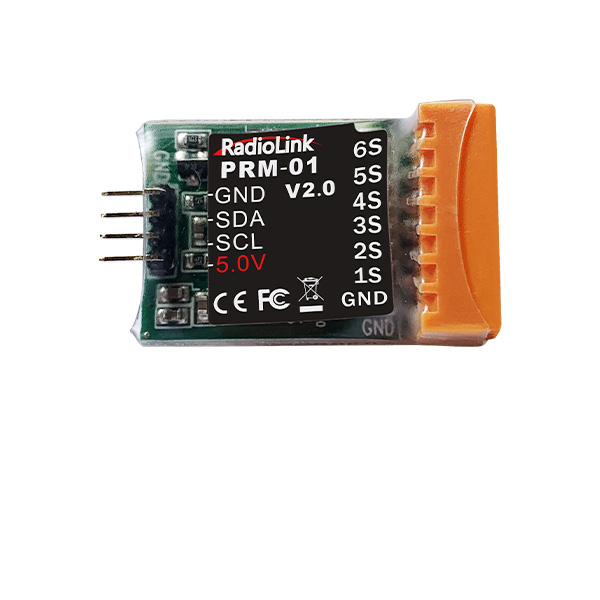
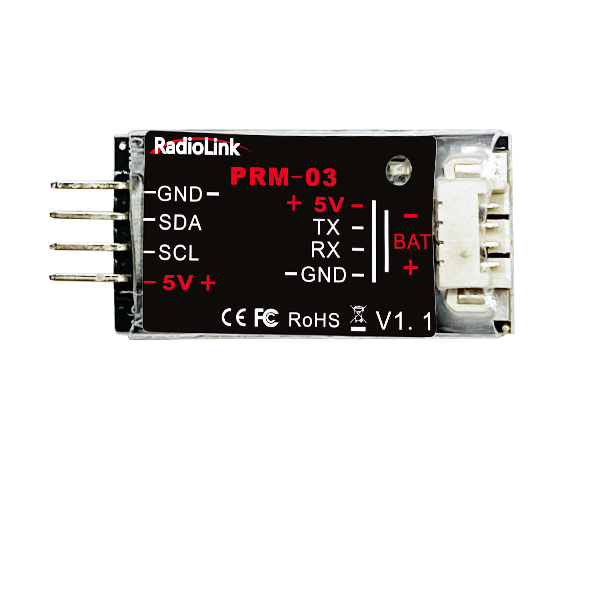
12C Boards
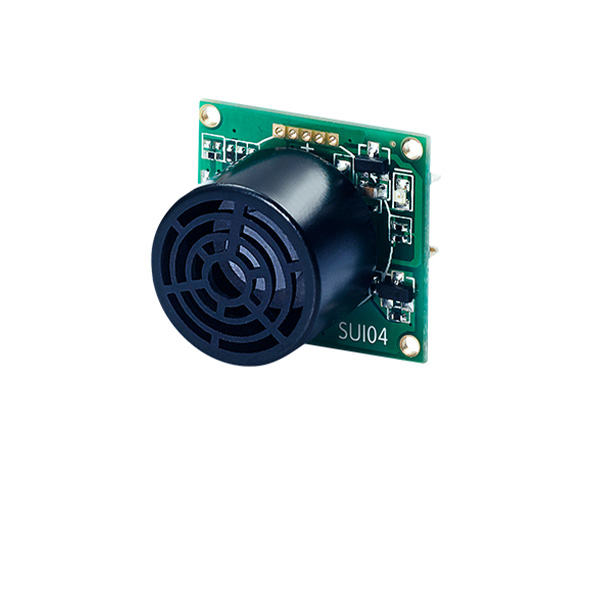
Ultrasonic Sensor
Digital Video
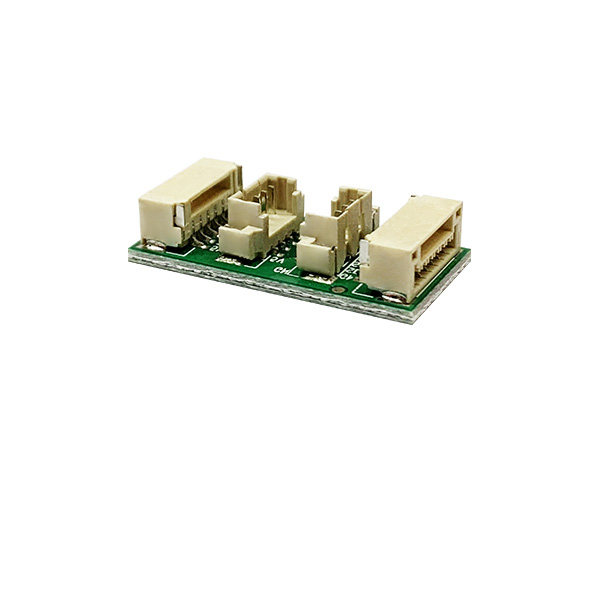
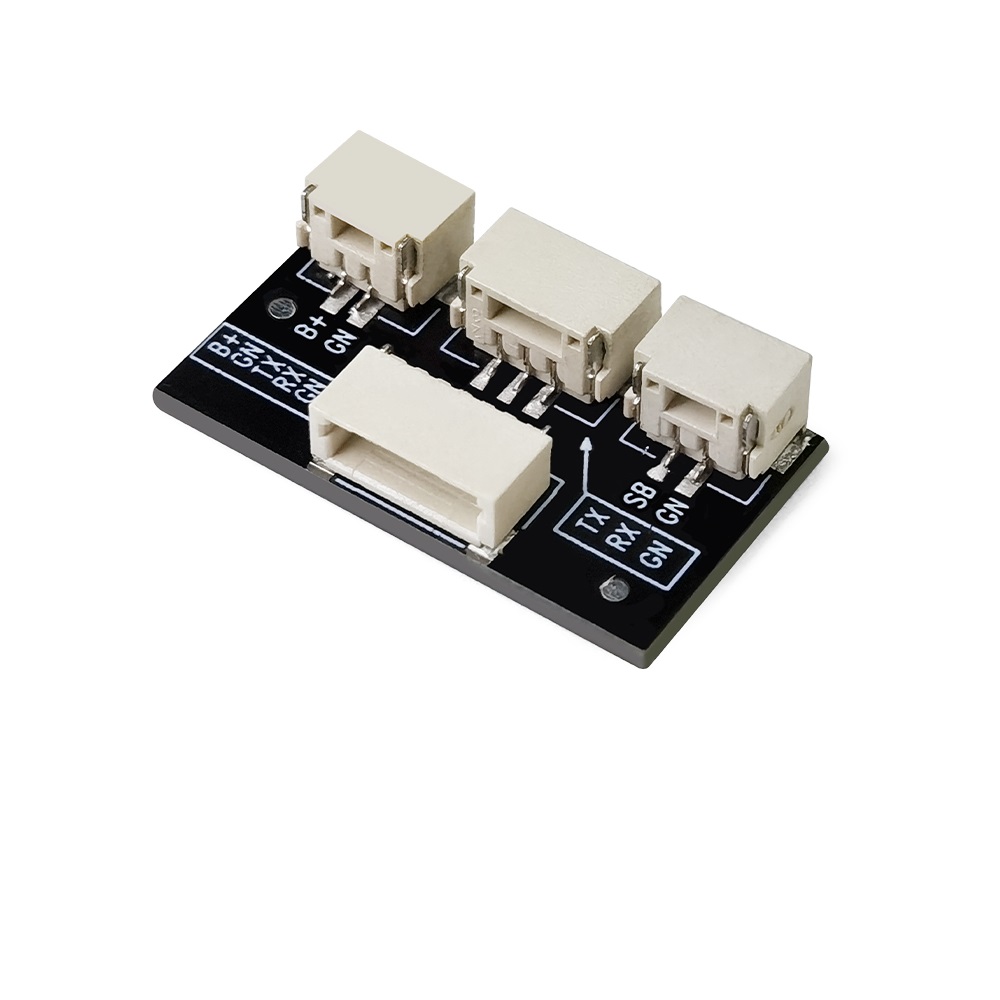
Transmission Adapter Board
NEW
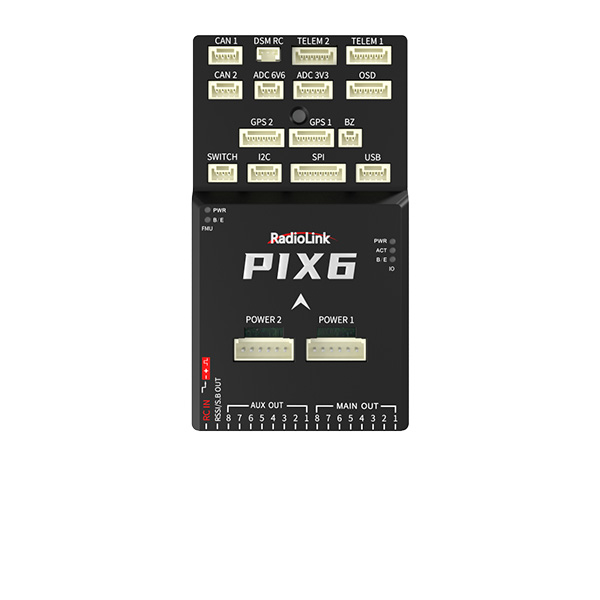
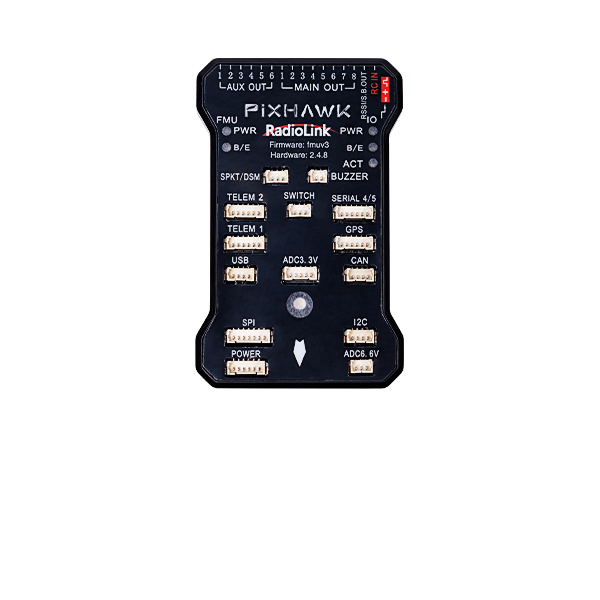
Flight Controller(Mission Planner)
NEW
 简体中文
简体中文 English
T16D Firmware
Please upgrade by Windows 7,8,10,11 or XP, or upgrade by Apple MAC computer
Latest Firmware:
Attention:
1. Please upgrade twice if the version of the T16D is before V1.0.8
2. For transmitters with firmware versions before V1.2.0, after updating the firmware to V1.2.0 and later, please calibrate the joystick. Enter the menu Transmitter Settings--STICK MODE to calibrate the joysticks.
Here is the tutorial on joystick calibration:
Attention: If you can not download the firmware files above, please click the website below to download the files you need.
https://www.radiolink.com.cn/firmware/transmitter/T16D/
Upgrade Introduction:
V1.9.6 (2026.5.15)
1. Optimized low battery protection. The system will shut down forcibly 30 seconds after low voltage alarm triggers.
2. Forced shutdown 10 seconds after pop-up prompt if receiver stays connected during power-off.
3. Added parameters for 4 new aircraft models, selectable on the 5th page of model management.
4. Fixed the issue where aircraft model remained unchanged when copying models.
V1.9.5 (2026.4.28)
1. Fixed error that power voltage alarm was displayed as receiver alarm.
2. Added external RF transmission cycle parameter.
(Recalibrate joysticks once after firmware update)
V1.9.2 (2026.1.14)
1. Optimized servo response speed and 270° servo display;
2. Optimized throttle curve;
3. Added model parameters F16SM BF200B.
V1.8.3(2025.8.5)
I. Background of the “One-Key Restore User-Defined Settings” Function
1. Remote Controller Model Data
One remote controller can control multiple devices, such as several model aircraft. Each device requires different parameters, and the controller can store parameters for multiple devices, which are called model data. Model data can be retained even after the controller is powered off.
2. OEM/Customized Parameters
Drone remote controllers are not only used for model aircraft but also widely applied in security inspection vehicles, hoisting equipment in industry, and agricultural fields. OEMs (original equipment manufacturers) need to configure dedicated parameters for each controlled device and deliver them together with the controller to customers.
3. Parameter Management Challenges
For example, a security inspection vehicle manufacturer configures the controller for each vehicle and sells it to users. Users often unintentionally modify the settings, leading to malfunctions. This requires remote assistance or sending the controller back to the OEM for reconfiguration. Although controllers have a one-key parameter restore function, it restores the controller manufacturer’s default parameters, not the OEM-configured/Customized ones.
4. Dual Restore Function
① OEMs/training institutions/Individual users can choose to restore OEM-configured/customized parameters instead of the controller manufacturer’s defaults.
② OEMs/training institutions/Individual users can also choose to restore the controller manufacturer’s default parameters easily.
II. Content of the “One-Key Restore User-Defined Settings” Function
1. Current Model Storage Method
Each model's data is stored as an independent file, located on storage media such as a TF card or EEPROM. This allows user settings to be saved after a power-off. All models share the same factory default settings, which users can restore with one key via the menu.
2. Implementation of the New Function
① On the Remote Controller
Each model is assigned two files, stored separately in the user area and the system area. User modifications are saved in the user area file, while OEM-configured/Customized parameters are saved in the system area file. The one-key restore function no longer restores the controller manufacturer’s parameters but instead restores the OEM’s/customized system parameters. This ensures that if users accidentally change settings, they can restore the OEM/Customized defaults with one key.
② Connecting to a Computer
The remote controller can be connected to a computer in USB drive mode, which not only supports firmware upgrades but also allows access to all model files under the user and system directories.
③ Restoring Parameters
OEMs can configure parameters for each device just like regular users. The parameters are first saved in the corresponding user file (e.g., file No.10 named robot.dat). After connecting the controller to a computer, the user file can be copied over to the corresponding system file (e.g., system file No.10). The one-key restore function then restores the parameters from the system file.
III. Technical Points of the “One-Key Restore User-Defined Settings” Function
1. Dual Files per Model
Each model has two files, one in the user area and one in the system area.
2. File Replacement
By simply replacing files, OEMs can easily implement one-key restore of their parameters without changing the traditional parameter-setting method.
3. Model Numbering
Each model file has a unique identifier for recognition and management, ensuring that the reset can be accurately applied to the designated model.
How to upgrade the firmware if the version of the T16D is V1.0.8 or after V1.0.8
How to restore customized model settings on T16D/T12D?
How to upgrade the firmware if the version of the T16D is before V1.0.8
Tutorial Video: https://www.youtube.com/watch?v=rbMDHkjFb9c
Updating Steps:
Connect T16D to the computer with a Type-C cable.
Push two TRIM buttons to the middle, and press the power button for a long time.
Click and enter USB MODE. The computer will display a removable disk of T16D. you can get 4 folders in it. (You can see 4 folders in the disk of T16D: Firmware, model, script, and sounds.)
Open the firmware folder.
Delete all the original files in the firmware folder.
Then copy and paste the 4 firmware folders you downloaded into the disk of T16D. (Download the latest firmware of T16D from www.radiolink.com/t16d_firmwares)
If it pops out the reminder to replace the files, please click YES to replace the original files.
The copy is finished. Press the End button to exit.
Then select Upgrade and enter Upgrade mode.
Please Note: For some transmitters, the firmware with character upgrade will appear here. The version is V1.0.0 (If the firmware with character upgrade doesn’t appear and firmware V1.0.8 appears here, you can update the firmware of V1.0.8 directly. )
Click Yes to update the firmware. Done. Exit. Long press the power button.
The boot upgrade mode appears automatically. Exit.
Push these two TRIM buttons to the middle, and long press the power button.
Enter upgrade mode.
Now V1.0.8 firmware is detected.
Click YES to update the firmware.
Copy is done. Exit.
Long press the power button. The transmitter is powered on.
Enter MAIN MENU-- Transmitter Settings--ABOUT.
The current firmware version is V1.0.8, which means the firmware update is successful.
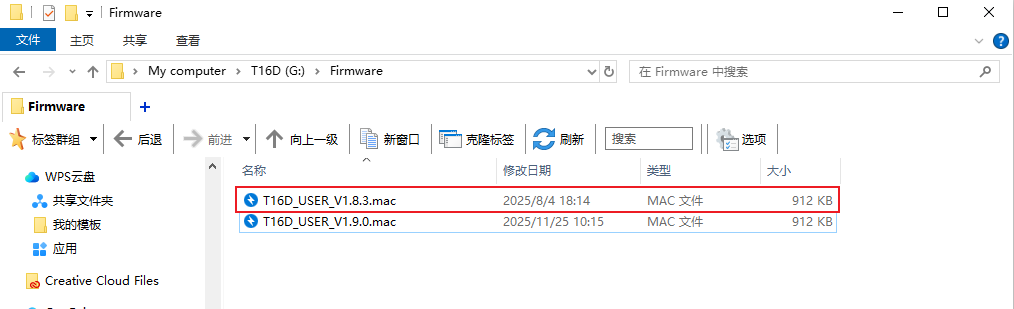
Attention: After completing firmware copying, navigate to the firmware folder of T16D and delete old firmware files. Excessive old firmware files may result in failure to recognize new firmware and cause firmware upgrade errors.
Path to delete old firmware:
T16D→Firmware
 简体中文English